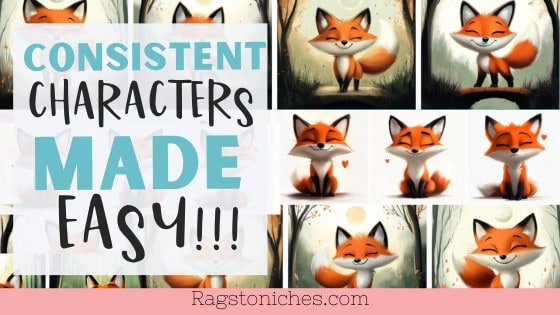
Midjourney has recently changed and so has the way you can create consistent characters & scenes. In fact, it’s got way easier..
Yet, I still consistently see videos which uses a bunch of steps that are honestly, are not that necessary now. You can now actually get some pretty decent results, using some VERY simple techniques.
Previously, there were also some notoriously hard things to achieve – such as creating your same character with DIFFERENT facial expressions.
Or putting your character in a brand new scene, without losing the overall style that you’re trying to hang on to.
But I’ve been playing around with new techniques on Midjourney Alpha and have come up with a couple of solutions to these problems that I think you are going to find very useful.
I’m going to embed a video in this post that will go into all the details and show you the step by step.
But essentially, this post and the video on this page, is going to be focusing on using images to help you create illustrated characters and scenes that you could use in a children’s book.
That being said, I imagine this could work well for any characters or scenes that you’re interested in creating.
So, in my example, I want to create a simple illustrated fox in my story who is in different scenes.
To do this – I don’t go to chatGPT anymore for this task. I go straight to Midjourney.com (Midjourney Alpha) and use their image search feature, to find an image in the style that I want for my children’s book.
Hopefully any of you reading this have Midjourney Alpha.
Originally you needed to have created 10k images, now I believe it’s 1k. However, it won’t take you long to generate 1k images, if you haven’t already.
We Want To Create Our Character…. Using a Style Or Character Available Already….. As Our Reference!
So, we want to head to Midjourney and actually go to the feed. I want to create a cute fox, suitable for a children’s book. So, I simply search that up and find one similar to what I’m after.
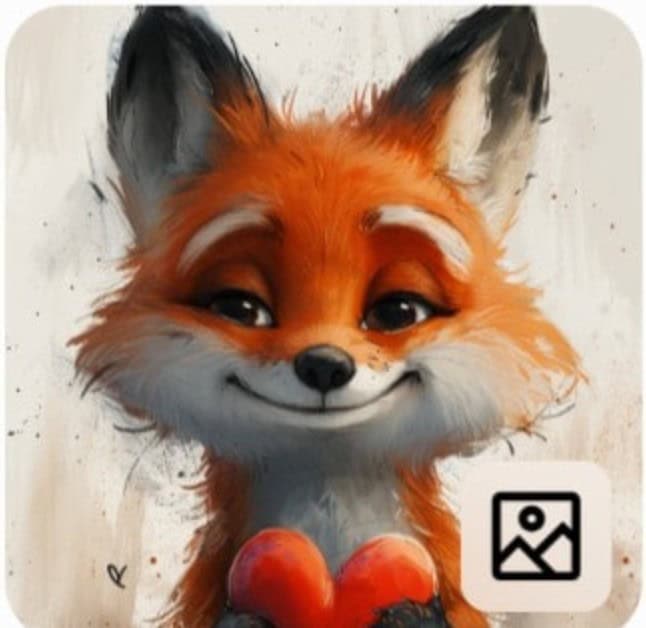
I then add that image to my prompt and we have two options – we could check the style reference box or the character reference.
Style Reference:
Character Reference:
Because I don’t want an identical character, I opt for the style reference – because it’s specifically the style in this instance, that I’m after.
By the way, I could have searched up anything here – it doesn’t have to be a fox – I could have searched up some other image in a style I particularly wanted and tried that as well.
I will show you how I use other images later, to add certain aspects to the scene that I want.
But in this case, I create my Fox.
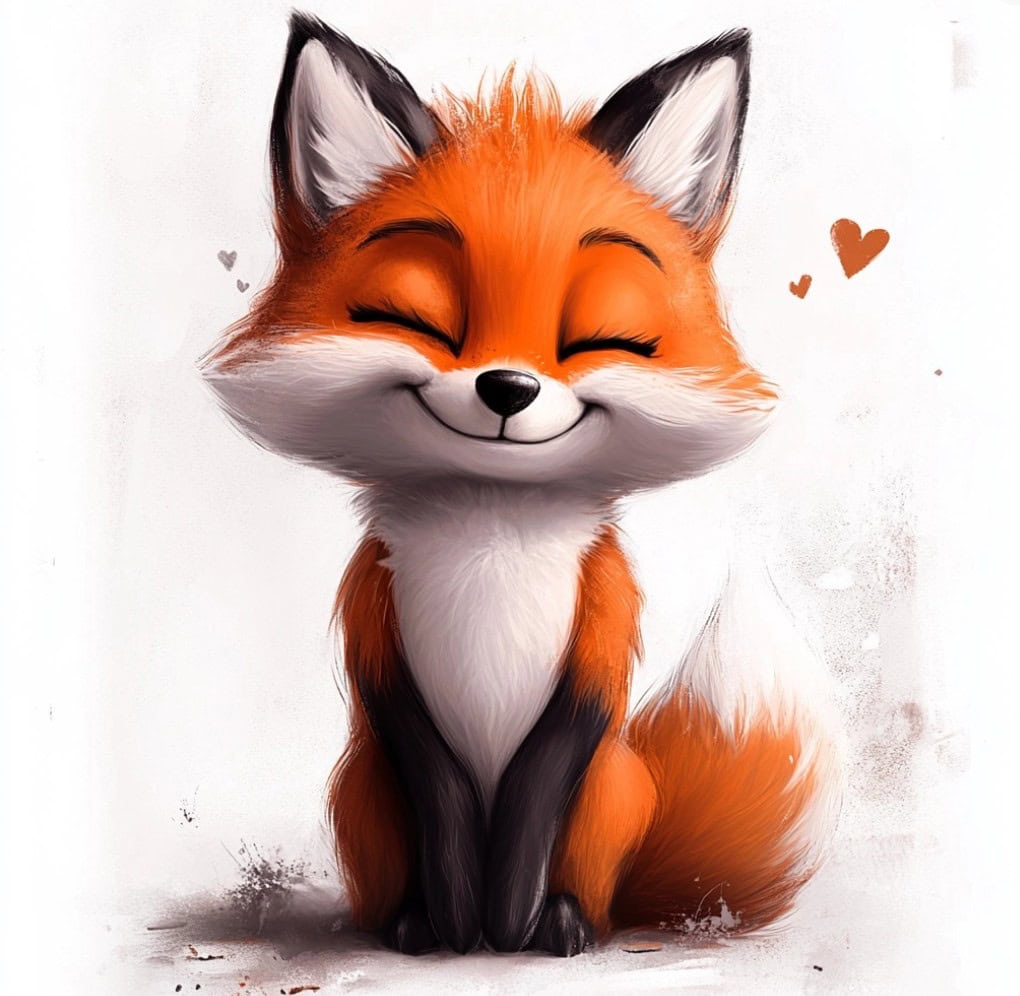
He’s perfect.
So, I click to download this image now. Next I create a new prompt with this image and also the original image I uploaded.
This time I add an image reference to the original, but character reference to the main fox I like.
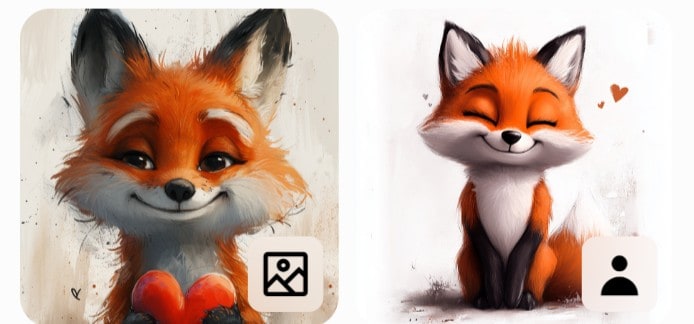
You can really play around with these features until you get a result you really like.
Next up, I want a backrgound. This time I use my original fox as a style reference but ask for a forest backrgound, children’s book illustration.
None of the results are exactly as I like. But one is close. So, I download that image, re upload it. Next time I put the same prompt but have the scene reference checked for the forest image and style for the fox image.
This time I get a background scene that I love.

the next scene I want is of my fox in a forest.
So, of course, this time I upload my chosen Fox character and this image of the forest. The forest as the image reference and the fox as a character reference.
You could also add something else as a style reference and experiment with the results there.
There are many great results off the bat for that.
Now, what I’d continue to do is create new scenes in much the same way. But there are two main stumbling blocks…..
1. Creating Different Facial Expressions:
Often times, you will need to create various image references with new facial expressions, in order to get different expressions on to your character.
Because if you are only using an image reference that has your character smiling and you’re using the clicking character reference box – Midjourney will often ignore any request to divert from your image prompt.
So, even though you may WRITE that you want the character to be angry — if they happen to be happy in your character reference image, they will probably remain happy.
The work around this was using character reference sheets, with your character in multiple poses and positions.
But whenever I tried to create character sheets for this character, there has not been enough diversity in facial expressions at all and this seems to frequently happen.
There may be some different poses, but a lot of the facial expression remains similar to the main image.
But I have found a possibe work around!
We need to go back on to Midjourney again and look for images.
This time search for a similar character to yours, (if possible) – with a different expression.
For example – “fox illustration, with sad face.”
Now, add the image of your core feature fox and also the image of the new fox with a different expression to your prompt.
I also click on the image reference box to the new Fox with the expression….

And the character reference box with your original Fox.
You now need to create a new prompt, similar to your original character prompt, but where they have a different expression.
I was surprised how well this worked. You can also experiment with the different references.
Switching between style reference and image reference in your prompts can quite dramatically change the overall composition and mood – so, it’s worth experimenting with.
Putting Your Character In Different Scenes:
But another stumbling block can be how to actually CHANGE the scene in your image. How do you put the same character, in a different scene and still maintain the same stype?
Yet again, you can just hop back on to the Midjourney and search for a background image that you want for your book.
As an example. I wanted a storm. I found an image of a storm and then added it to my prompt.
I played around with using this image with the style reference or image reference. You can see the variations below and they are quite different.
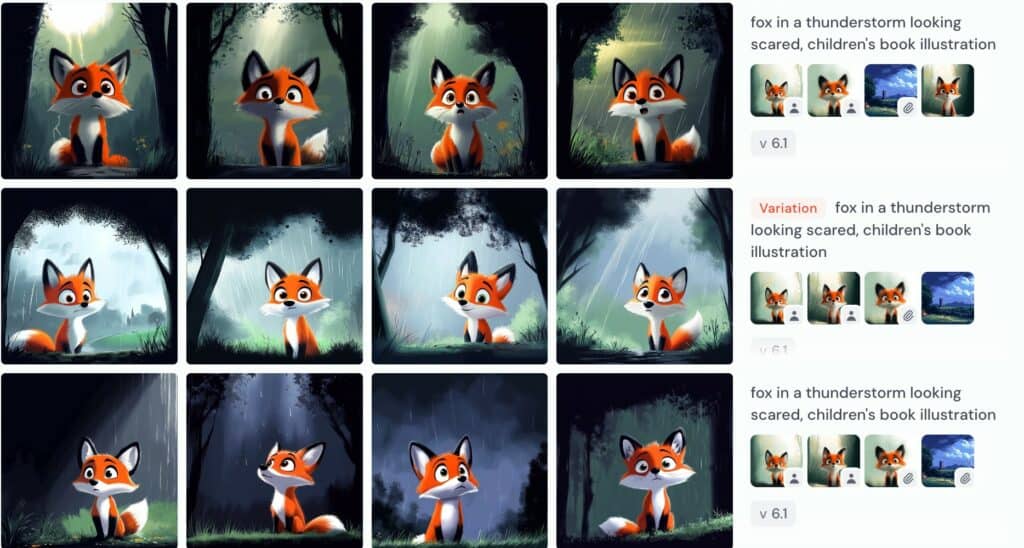
So, once I’ve compiled all the images I’m going for – I would upscale it on Midjourney.
You can then use an additional upscale tool to enhance them still. Canva now does have an upscaler tool on their platform and I sometimes use that, but if I’m doing bulk images, I use enhance.io
Also, there are a couple of other Ai tools I really like on Canva that can help you develop the composition of your book – but I will save that for another post/video!
Are there any real sticking points you have with Midjourney?
If there is – let me know in the comments on YouTube and if I don’t know the solution…. I will try and figure it out for you.
Leave a Reply